Welcome to the PrePurchasing System!
Introduction to the new PrePurchasing system

https://prepurchasing.ucdavis.edu
Here are some tips to get you started
If you are not sure what you have access to, click this link to see which PrePurchasing workgroups you are a member of, and who the workgroup administrators are: https://prepurchasing.ucdavis.edu/user/contact
Email Notifications
The PrePurchasing system sends out email notifications to inform you when an event has occurred for one of your purchases. There are a wide variety of situations that can generate emails, and you can change you settings in Profile -> Email Preferences.
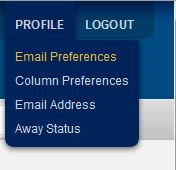
You can also choose whether you want to receive these emails daily, weekly, or for every event.
Most Importantly
Make sure your notifications are not ending up in your Junk/Spam folder! Be sure to add this address to your Safe Senders list: opp-noreply@ucdavis.edu
The Landing Page
Here is the landing screen you will see when you log into the system
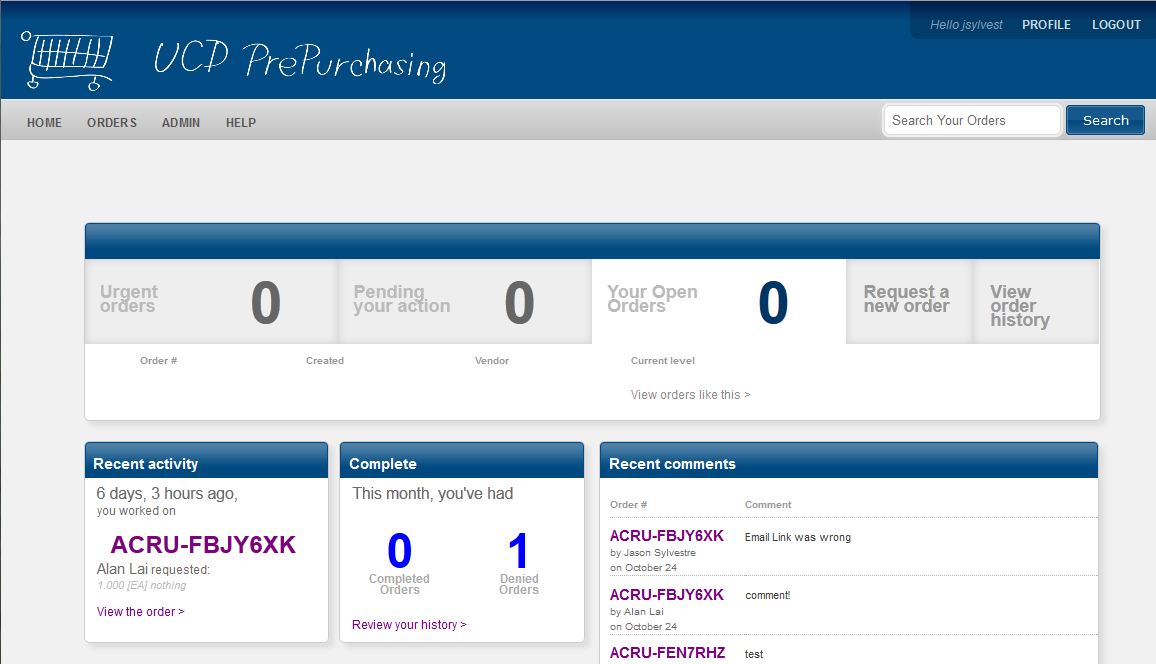
This screen has everything you need to use the system. You can access your order history as well as prioritized lists of any pending orders you submitted or that are waiting for your action.
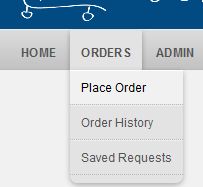
How to place an order request
From the landing screen click ORDERS -> Place Order
If you have requester access to more than one workgroup, a screen will be displayed for you to choose which workgroup to place the order request in.
Click the Tour menu or click “Take the Tour” to go through a guided tutorial that will show you all the components of an order request.

Vendors and Addresses
By default, your new workgroup may not have any vendors or shipping addresses, but the system remembers the information you enter. Searching for new vendors and adding new shipping addresses will store this information in your workgroup, and on the next order you place you can quickly use the drop down menus to select previously used choices.
Routing
Your order will route to the PI or account Approver and to the Account Manager. They will then be sent to your Purchaser, who will complete and place the order.
When an order is denied or cancelled, you cannot resubmit. To make corrections, open the order and click Duplicate in the upper right corner. You can adjust the new order and submit.
Enter as much information as you can to help all the people who will be reviewing and approving your order.
More detailed information about routing may be found here: https://computing.caes.ucdavis.edu/documentation/purchasing/approval-routing